


The Difference between the Series of Weldy Hand Plastic Extrusion Welder for Plastic Fabrication
The Difference between the Series of Weldy Hand Plastic Extrusion Welder for Plastic Fabrication
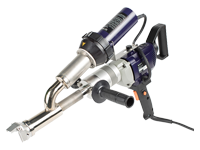
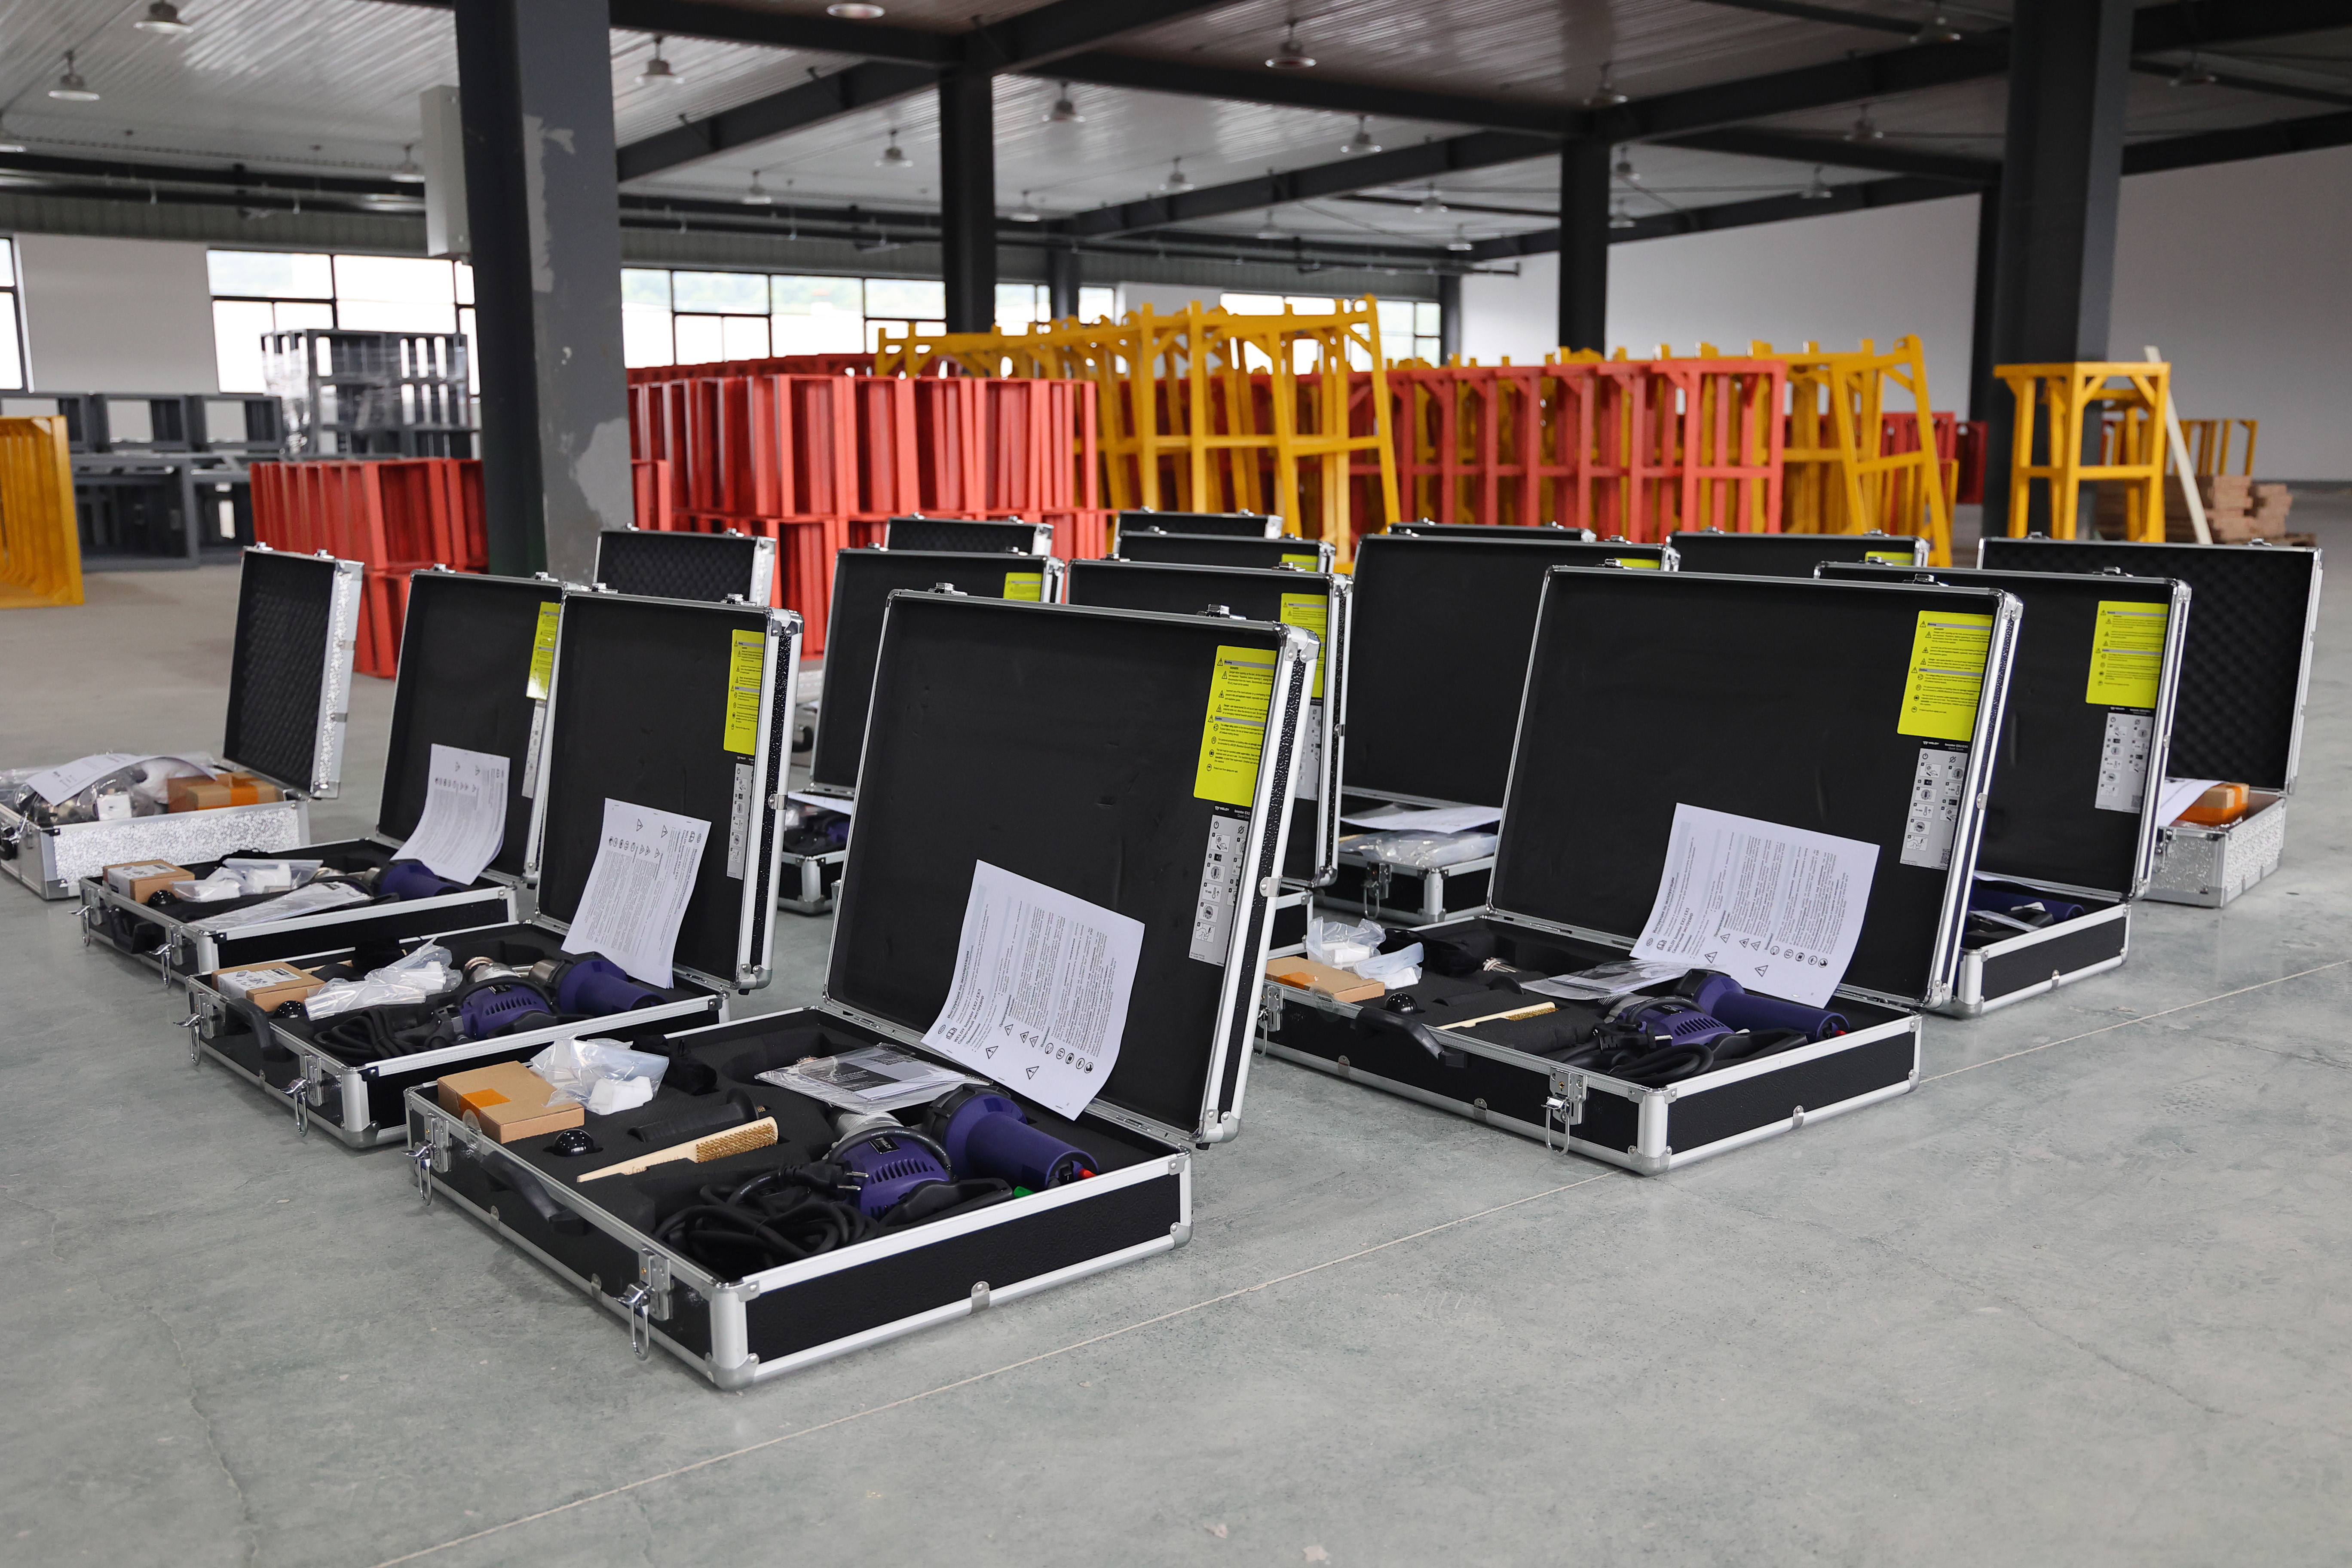
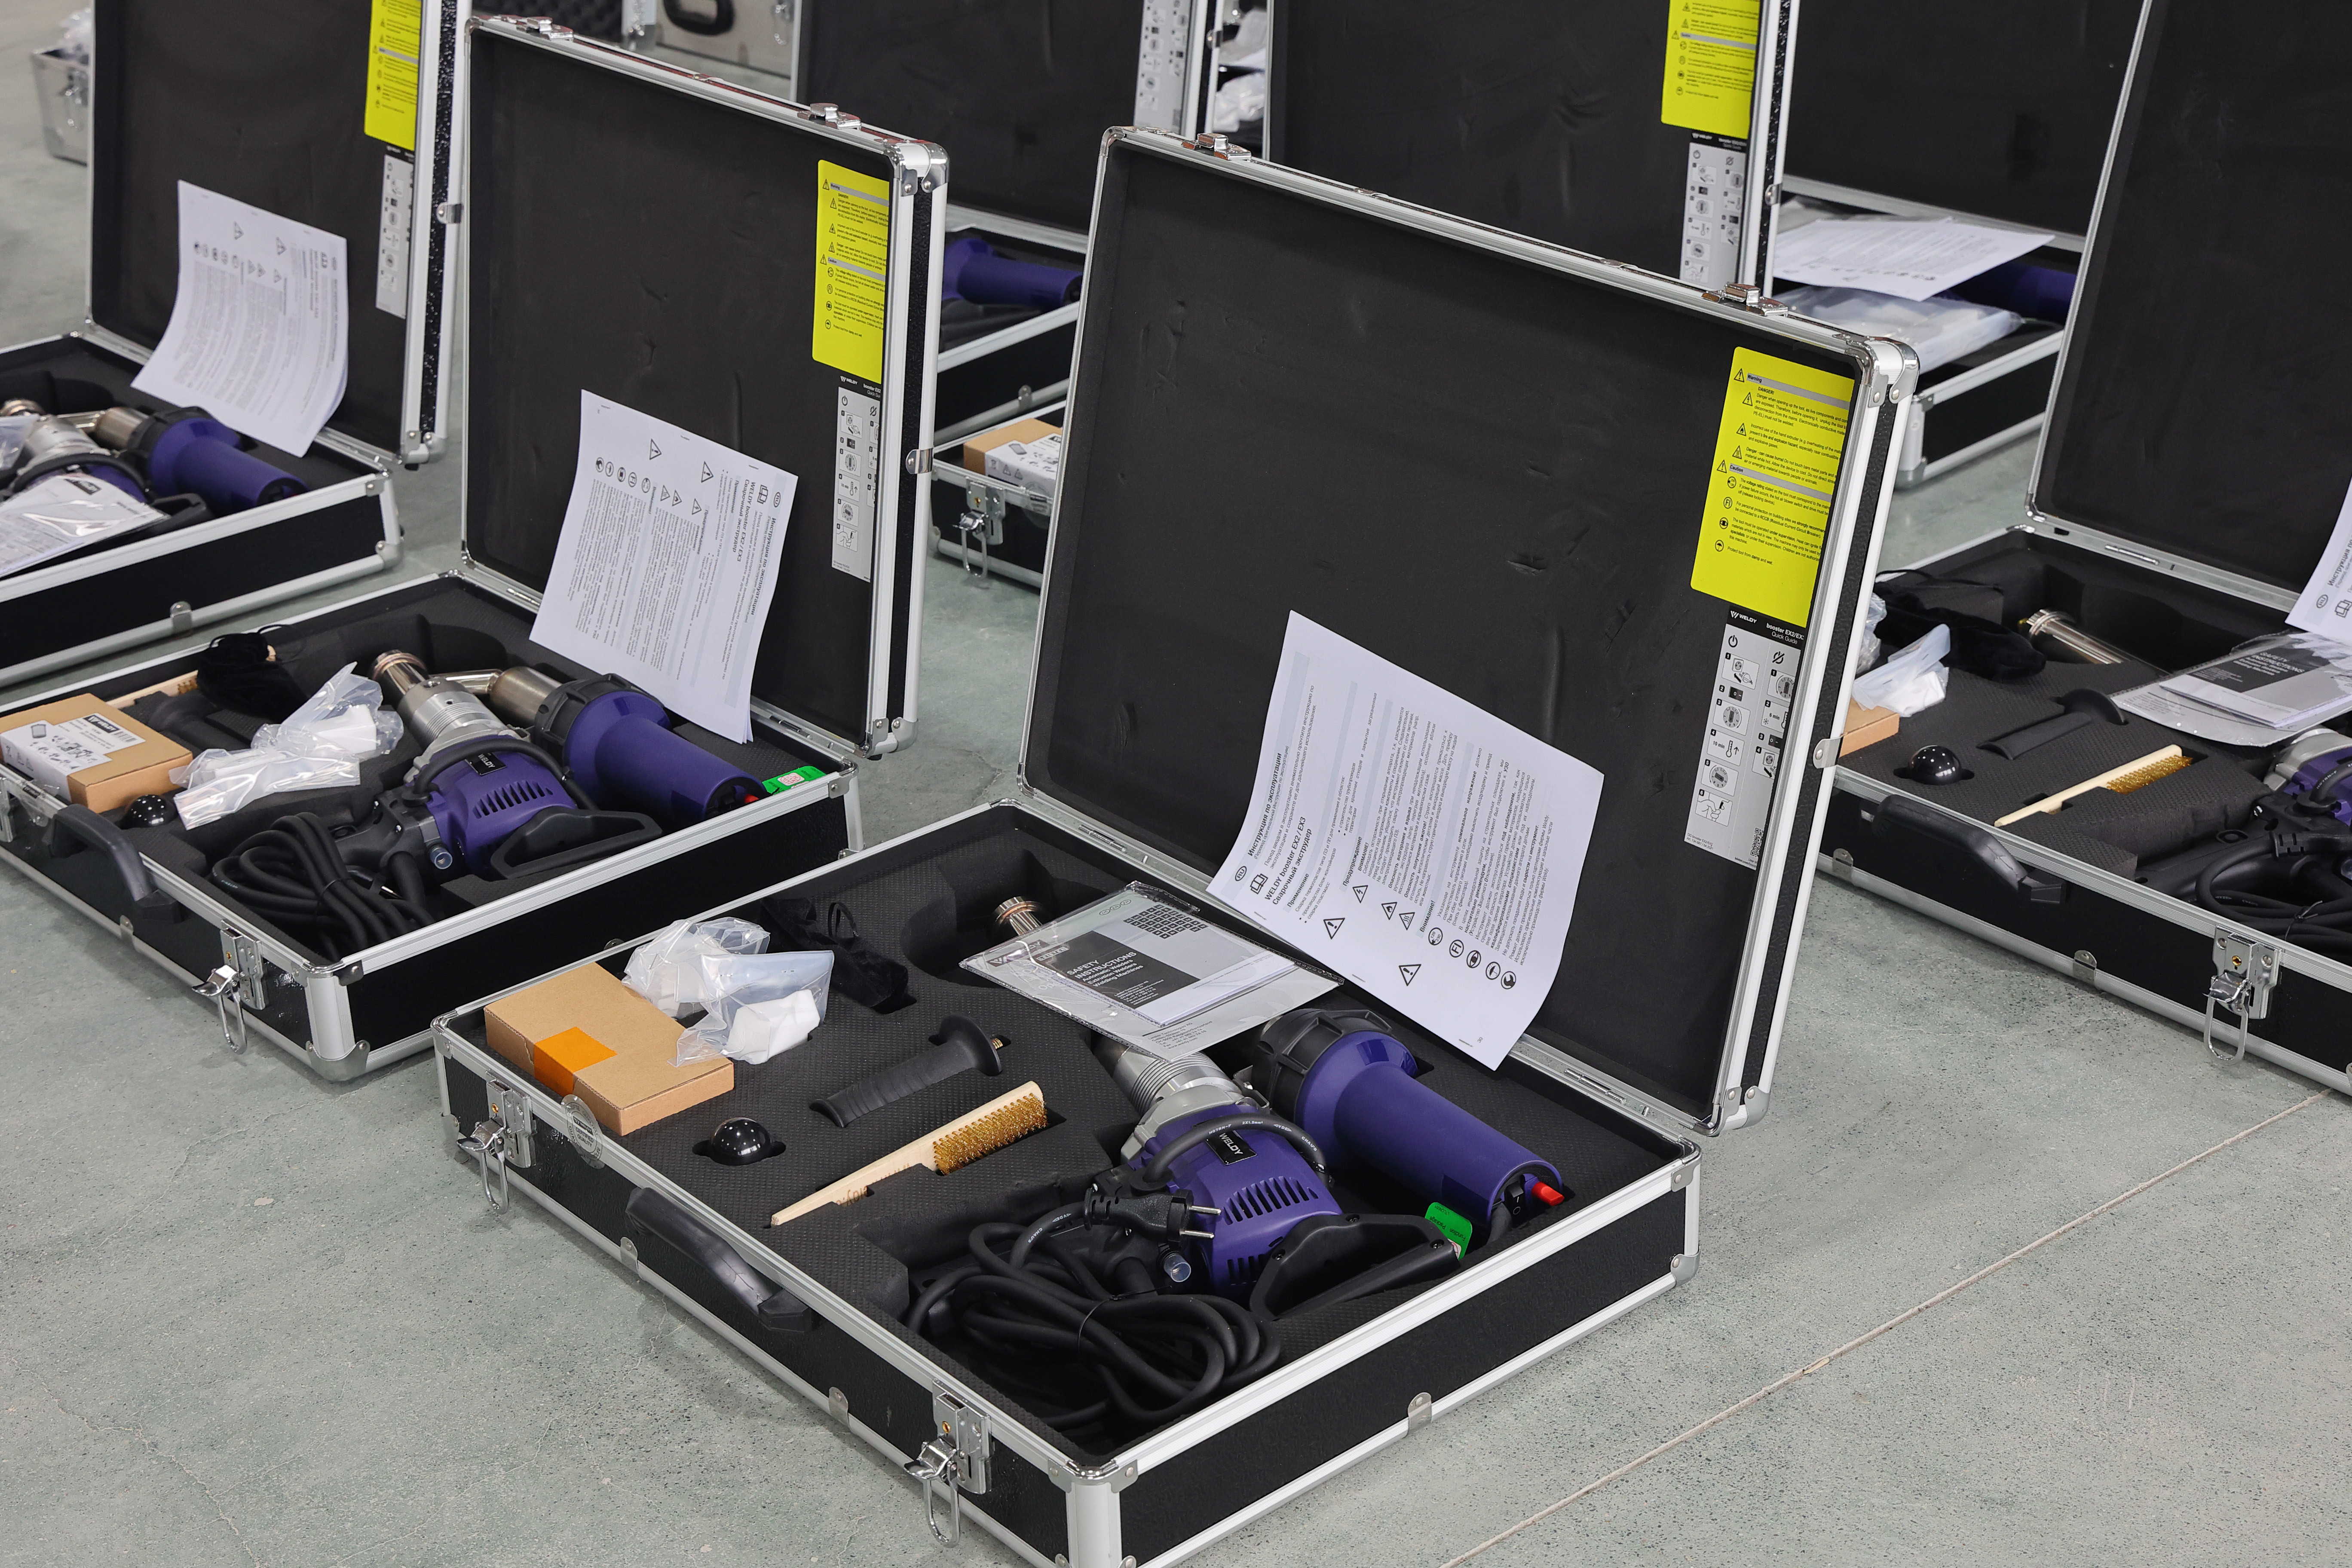
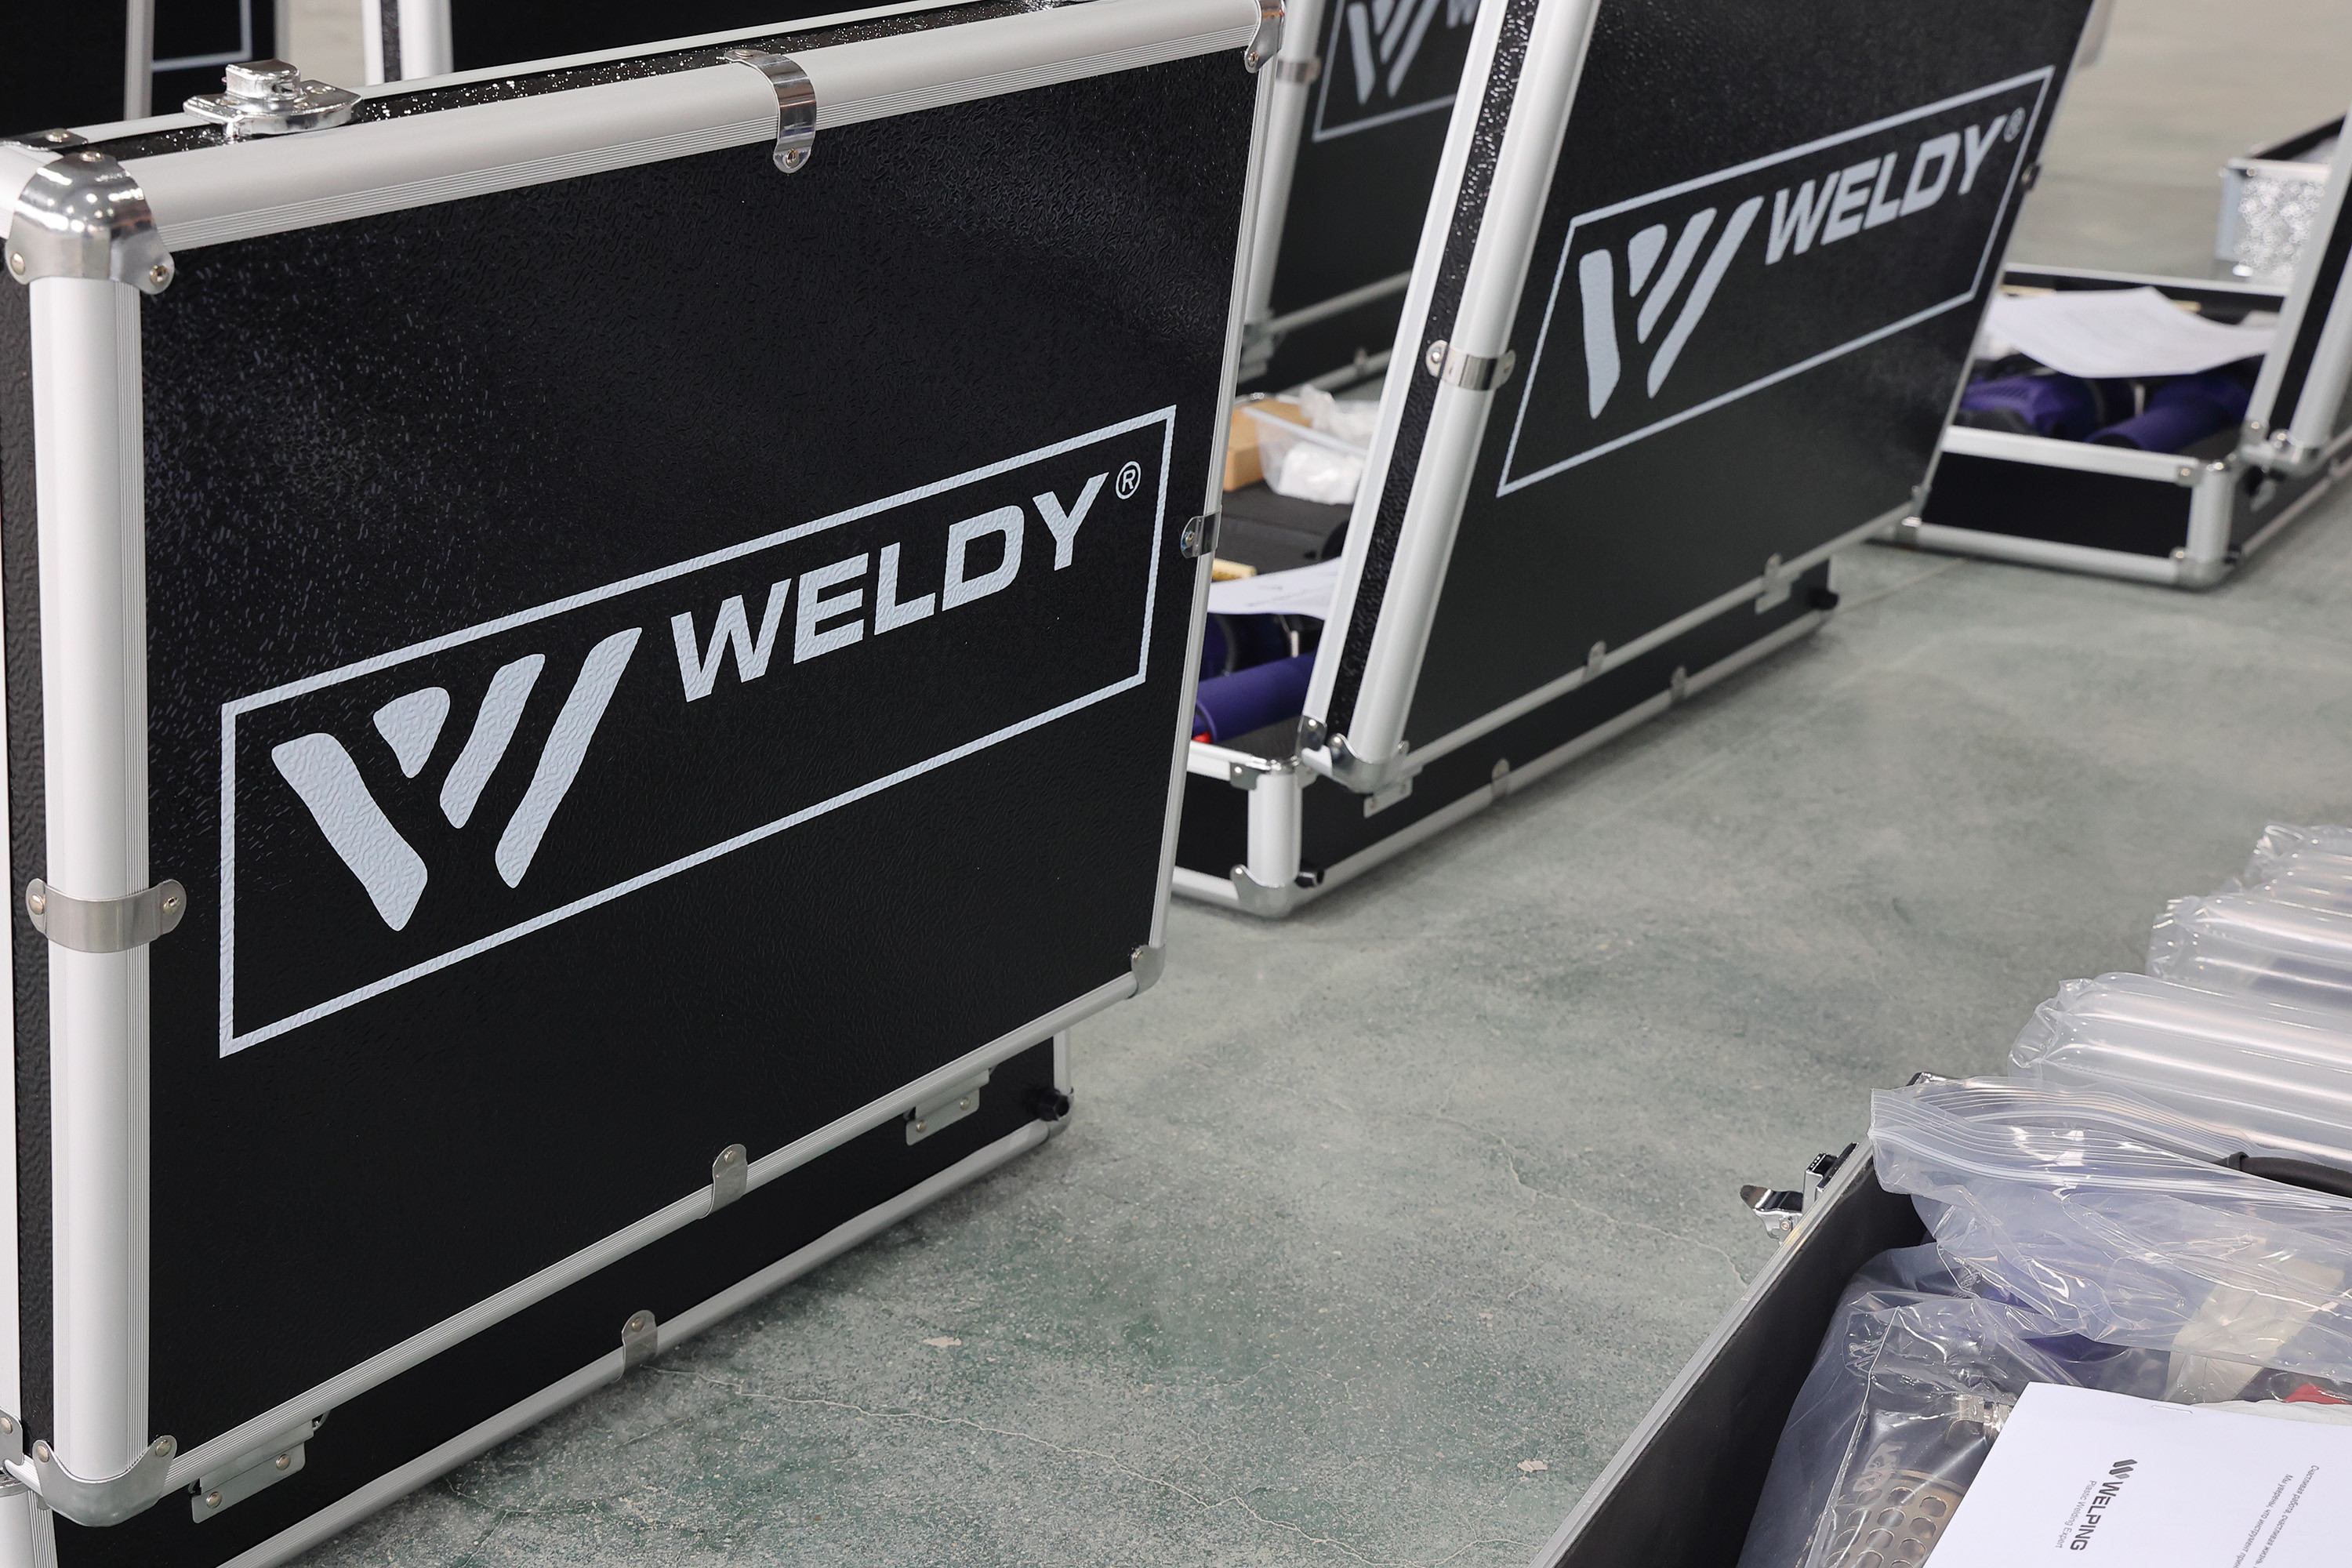
Weldy Plastic Extrusion Welder
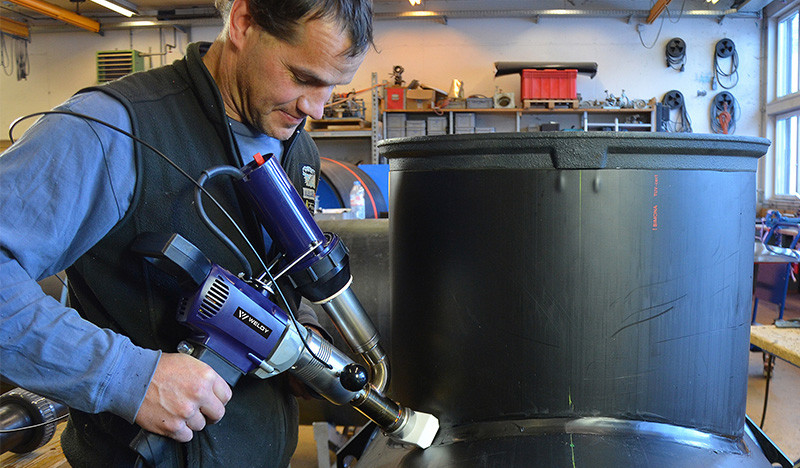
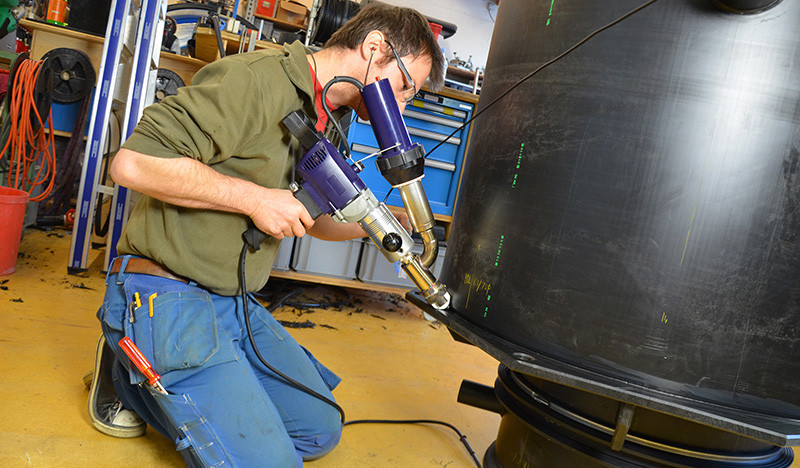
Plastic extrusion is a process that allows us to mold different products. This is one of the basic processes in the production of plastics. By means of plastic extrusion, water, air, gas and other liquid tanks can be formed. This solves possible leaks in the tanks. The hand-extruder booster from WELDY guarantee a greater stability in all tank models.
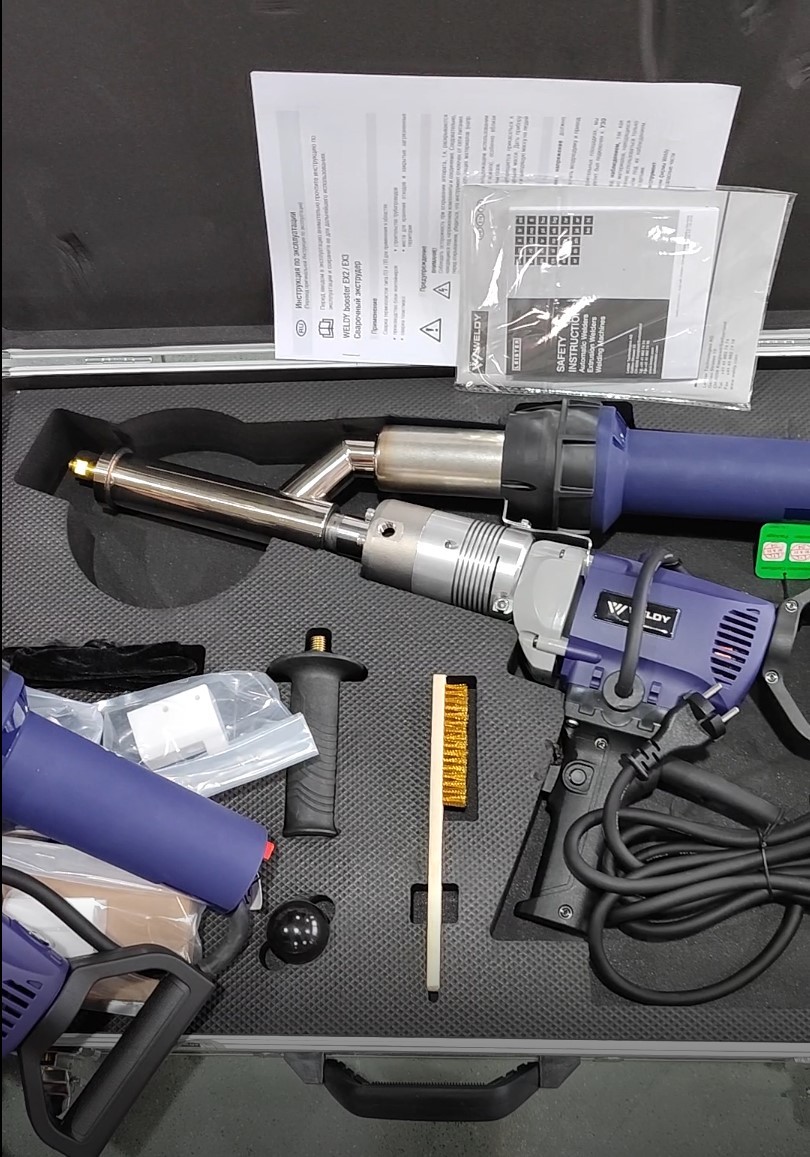
Extrusion WELDY booster EX2 / EX3
It is said, that the WELDY extrusion welders are best in class! The WELDY "booster EX2" and "EX3" series allows you an efficient and ergonomic welding. Some features are:
Output deppending on your needs up to approx. 3 kg/h
On both sides easy to insert welding rods (3 and 4mm) for flexible welding positions
Locking button for continuous extrusion welding with little effort
Quickly replaceable welding shoes result in high productivity
Turnable handle for high ergonomics
There are also some differences between the Weldy booster EX2/EX3
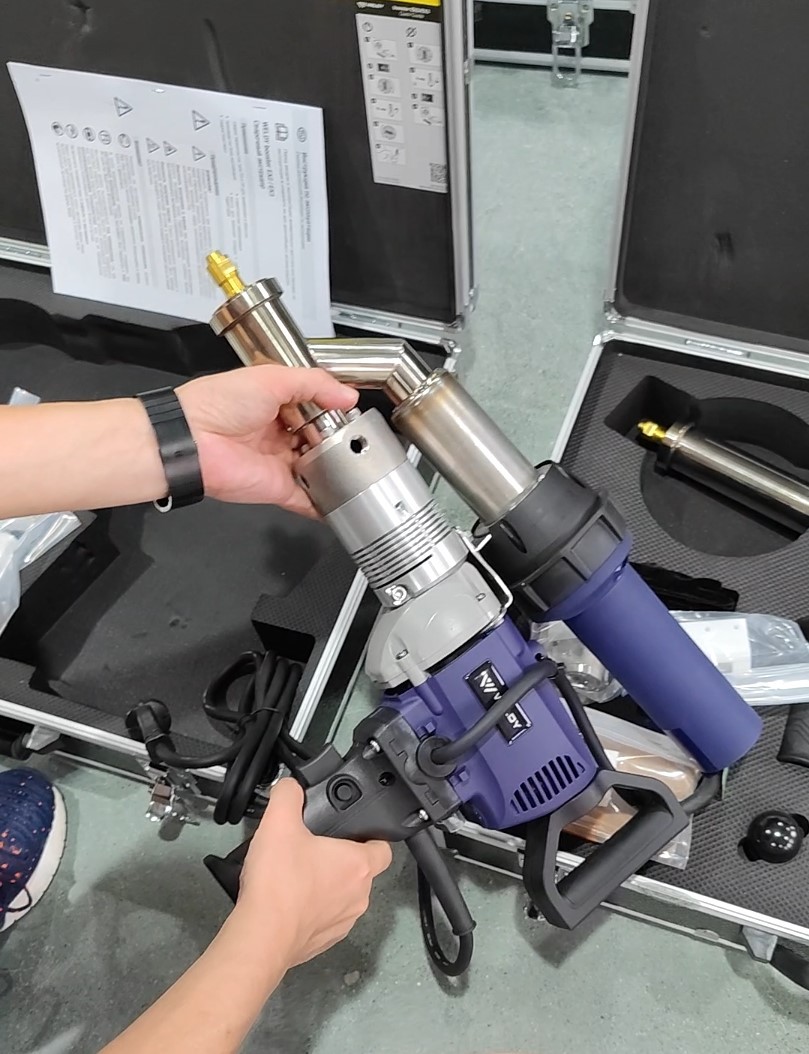
EX2
The EX2 extrusion volume is 1.5-2.2kg/H,and the EX3 is 2.4-3.4kg/H
EX3
The EX3 extrusion rod is longer than the EX2,which is more handy
General plastic welding information
The most important rule in plastic welding is that it is only possible to weld like. Hence the need to identity plastic material and select a matching welding rod. The main welding operation begins with preparation of the welding rod. Cut the end to a pencil point using a trimming knife or side cuters; this provides a progressive fill in V groove, particularly where it starts in the centre of a panel, preventing the formation of bulbous protrusions of plastic. Fit speed welding nozzle to the WELDY energy tool, set the correct temperature for the Material and allow the tools to warm up for a few minutes before starting. Insert the trimmed welding rod through the nozzle feeder until approximately 5mm protrudes on the underside. Hold the tool so that the speed welding nozzle sole runs along the crack parallel to the component surface. The protruding rod must be held beyond the start of the V groove so the heat is directed onto the start point for welding. When the surface plastic shows signs of slight wetting move the welding nozzle along the groove. The nozzle toe should rest on the rod in the groove while under the heel there should be an air gap of 3mm. Feed the rod steadily into the nozzle with a downward hand pressure of about 2.5 kg sufficient to push the softened rod into the groove. To judge what a pressure of 2.5kg feels like, take a short piece of weld rod and use it to press down on an set scales until 2.5 kg registers. (Do not apply downward force to the weld via the hot air tool itself). Wherever possible the weld should be completed in one continuous run along the contour of the crack. Wish you a good welding!